For many print businesses, one of the biggest challenges is ensuring consistent quality, colour, and alignment, especially across large production runs. Even a slight variance can be noticeable and unacceptable for the end customer. This is especially critical for high-value products like vehicle wraps, interior decor, and retail graphics where flawless quality is expected and often prints are applied across several sites.
Thankfully, digital print has a quick and cost-effective solution. Sampling is an invaluable tool that print businesses can implement to practically eliminate issues with large print runs. By printing a representative sample and getting sign-off from the client before the full run, you can validate colours, alignment, materials, and overall quality. This extra step may add a bit of time upfront, but it pays major dividends in avoiding costly reprints and keeping customers happy.
Why Produce Samples?

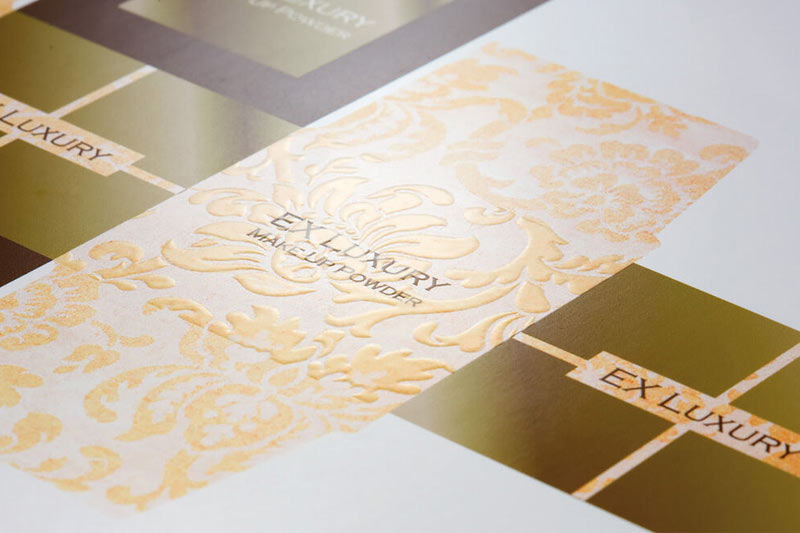
A close-up of a cosmetic package sample
Whether you want to showcase what you can produce for potential clients or provide a last chance to spot and rectify issues, sampling is an excellent and cost-effective way to ensure customer satisfaction by:
- Catching potential issues before the entire batch is produced and shipped.
- Detecting colour variations, print quality discrepancies, and content errors.
- Increasing collaboration with suppliers and customers that will help provide clear expectations and understanding of requirements.
- Improving turnaround times by identifying and rectifying issues promptly.
- Meeting or exceeding customer expectations and fostering loyalty.
The Sampling Process

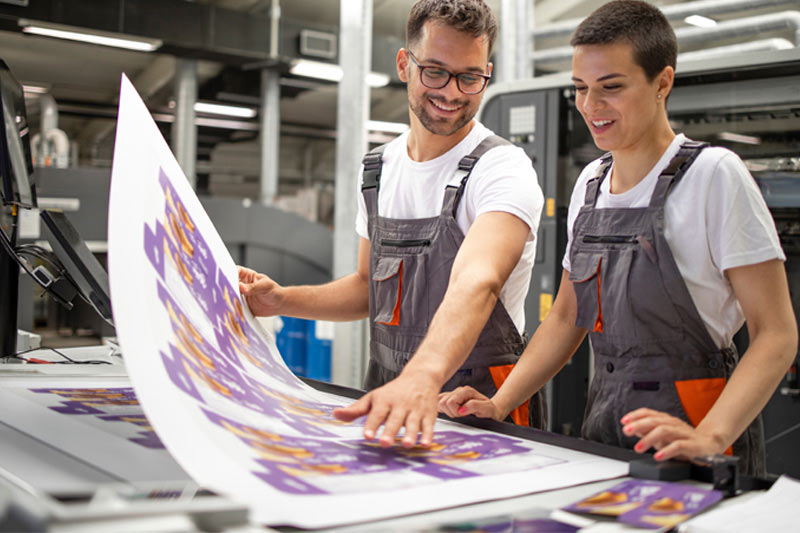
Professionals inspecting the print
Many customers demand a sample and for good reason. They want to know that the final product will match their vision. Digital printing has made prototypes much cheaper, quicker, and more straightforward than ever before, making them a lot more palatable for businesses to produce.
The idea behind sampling is simple – print a limited initial run, inspect and approve it, then proceed with the full production quantity. This sample could be a single print or a batch depending on the job specifications.
Once the sample is printed, it can be inspected by the client or the prepress team, where they can:
- Compare it to the approved graphic file for colour accuracy, sharpness, etc.
- Check the finish/laminate quality if applicable.
- Check alignment on multi-panel prints.
- Manipulate the materials to check ink adhesion.
- Inspect it under multiple lighting conditions.
Any flaws or variances from expectations can then be flagged for adjustment before client approval and the full run.
Selecting the Right Printing Equipment
Of course, delivering a flawless sample print requires equipment capable of precision output. What you produce will dictate what digital print technology is best for your business, so here is a quick overview of two major ink types ideally suited to producing samples quickly and cost-effectively without compromising on quality.
Resin/Latex Printers

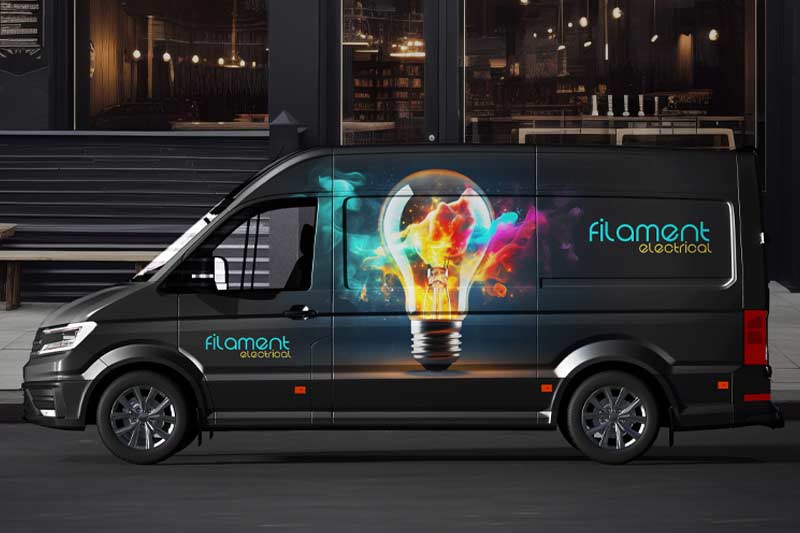
A black van with a light bulb graphic on the side, showing accurate panel print
Resin/Latex ink is built for demanding print operations and large applications such as vehicle wraps or wallpaper, offering:
- Exceptional colour reproduction and resolution with less ink.
- Superior precision for double-sided, tiled, and multi-panel prints.
- Instant drying times and outstanding ink adhesion.
- Unrivalled stretchability on a wide range of media.
Resin/Latex ink offers particularly good coverage and colour retention with less ink, and low-temperature curing means that prints are accurate both in colour and alignment, making it the ideal choice for cast-vinyl vehicle wraps.
UV Printer/cutters

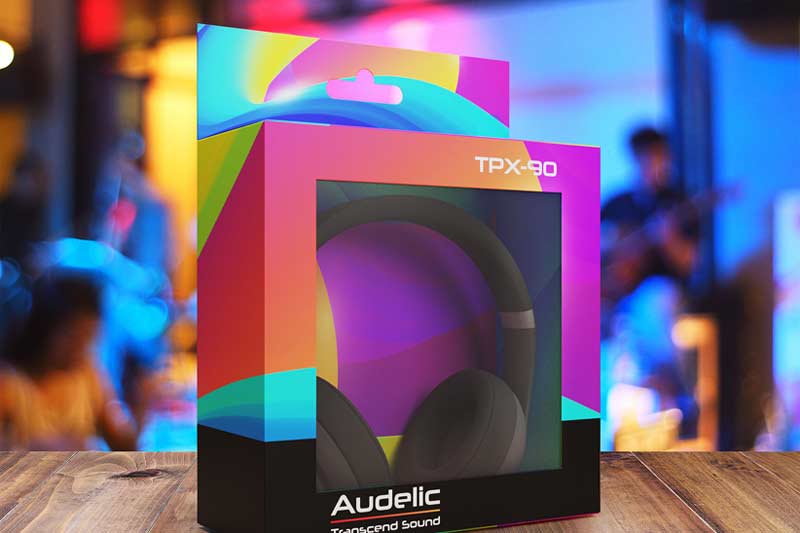
Product packaging for a headphone brand
UV printing unlocks a fantastic range of materials, textures and effects, ideal for product packaging or any number of applications, featuring:
- High-definition print with up to 8 colour configurations.
- Speciality printing for textures and effects.
- Fast drying print for quick turnaround and finishing.
- A wide range of compatible media.
- High-density white ink for vibrant prints.
A UV printer/cutter provides exceptional versatility so you can produce anything from eye-catching window or backlit graphics to packaging prototypes, POS displays, signage or stickers.
Sampling with Roland DG Software
Roland devices contain several features that allow users to manipulate functions to help when sampling and VersaWorks 6, Roland DG’s powerful yet easy-to-use RIP, includes some useful tricks to help produce exceptional prototypes. Just ensure that before you start manipulating settings you have the basics right: your media is loaded correctly without skew, your printer is calibrated to the material and the test print is accurate.
Colour Management
VersaWorks has a Nearest Colour Finder function to help you quickly trial a range of colour management options to find the best solution for your artwork and customer. While spot colours pass through this function unaffected, changing these settings can alter process colours quite considerably, making it a great way to hit a challenging colour such as tricky greens, oranges and reds.
Match the Printer to the Material
While there are several basic settings to match your printer to your media, a good media profile is essential to get the most out of your media and minimise ink use. This profile controls the amount of ink that’s applied per ink channel and overall ink limits. It also contains an ICC colour profile to ensure accurate printing.
If you’re printing on a challenging material, you can try to find a profile for a similar material or use other techniques to ensure a quality sample. It’s also possible to go further with manual adjustments such as slowing down the print head using VersaWorks.
More VersaWorks Features for UV Print
Several features in VersaWorks make printing samples quick and easy. The Job Assistant feature allows you to add cut lines and layers within the RIP. You can also build layers of UV ink with multiple job grouping and duplication or create textures using the Overprint function. Being able to add white or special effect layers in the program itself simplifies the process of making quick edits.
Resin/Latex Ink Optimiser
Resin/Latex inks use an optimiser to help the ink droplets form properly, producing high-quality print even when printing lower resolutions. Roland DG Resin/Latex printers are compatible with a wide range of media. Several have high-quality media profiles already created but for new materials, you can manipulate this setting to optimise the print quality.
Conclusion
Ultimately, your print quality and customer satisfaction go hand-in-hand. By implementing an effective sampling process built around advanced printing technology, you can drive more predictable and efficient production. With each job, you'll have the confidence to meet client expectations and protect your hard-earned reputation. Sampling is a critical best practice for keeping your customers happy and maximising the lifetime value of each client relationship.
If you have any questions about anything mentioned in this article, just click the button to get in touch with a Roland DG expert.

