

If you own a vinyl cutter, you’re probably interested to learn all the ways it can help you make money.
In this article we take a closer look at glass applications - windows in particular. There’s always a number of businesses seeking to brand their buildings, add wayfinding signage, or create a little privacy without blocking out light. As a vinyl cutter owner, you can help.
Vinyl lettering for glass
Whether your customer wants to decorate an office or a public shopfront, window lettering is a great way to make full use of the available space. Here are a couple of options you can offer your customers:

Window lettering using coloured vinyl letters
● Cut vinyl letters: with this method, you simply cut out the letters and, using application tape, transfer them to the glass. Even with this simple process, you can get creative with different fonts and different coloured vinyl.
Frosted vinyl
● Letters cut from frosted vinyl: Similar to the above, this option involves covering a large portion of the glass with a sheet of semi-transparent vinyl, and removing the letters. It’s a little more subtle, but the effect is ideal for adding signage to doors, for example.

Window lettering cut from carbon fibre
● Experiment with different materials: Why stop at coloured vinyl and frosting? Research the available materials and start experimenting with interesting effects. This door at Renault F1® Team’s technical centre is a great example - the letters have been cut out of carbon fibre, perfectly complementing their brand.
Privacy films and manifestation
If you have a pane of glass in a public area where there’s a risk of people walking into it, you need to add ‘manifestation’ or stick something to the glass to make it more obvious. Because of current glass safety regulations, manifestation is a legal requirement - which is great news for your vinyl cutting business.

Manifestation
As a minimum, businesses can add sheets of frosted film to their glass - they can even do this without your help if they’re determined enough. The chances are, they’ll want to create a custom effect that highlights and reinforces their brand, whilst adhering to the relevant health and safety requirements. If you want to secure these clients, try to incorporate their logos and fonts in the design.
How to create and apply vinyl lettering
In this section we'll take you through the steps involved in decorating glass with cut vinyl. If you don’t have a cutter yet, you should know that window lettering and manifestation are the tip of the iceberg when it comes to money-making applications. We’ve covered the topic in our downloadable Guide to Vinyl Cutters.
What you’ll need
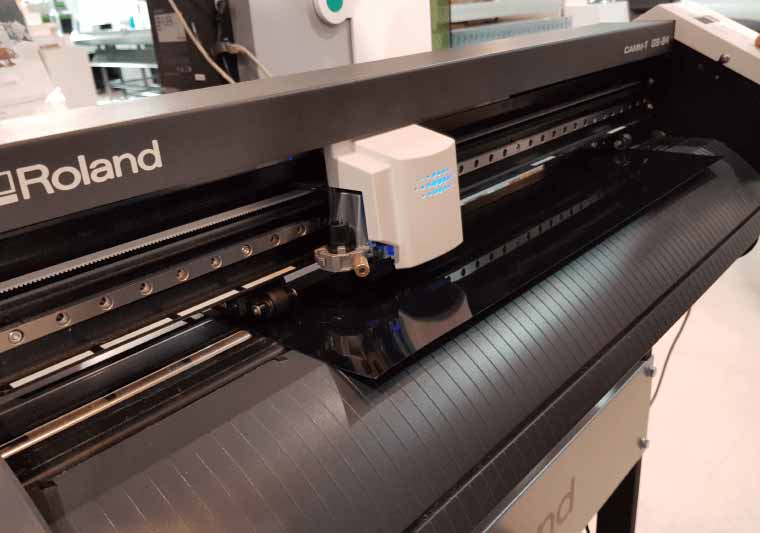
Vinyl cutting plotter
A vinyl cutter: To create simple window lettering, you can start with something small like our VersaSTUDIO GS2-24 desktop vinyl cutter, but if you’re intending to run a sign and graphics business, you should invest in a more professional device, like the CAMM-1 GR2-640/540 large format vinyl cutter.
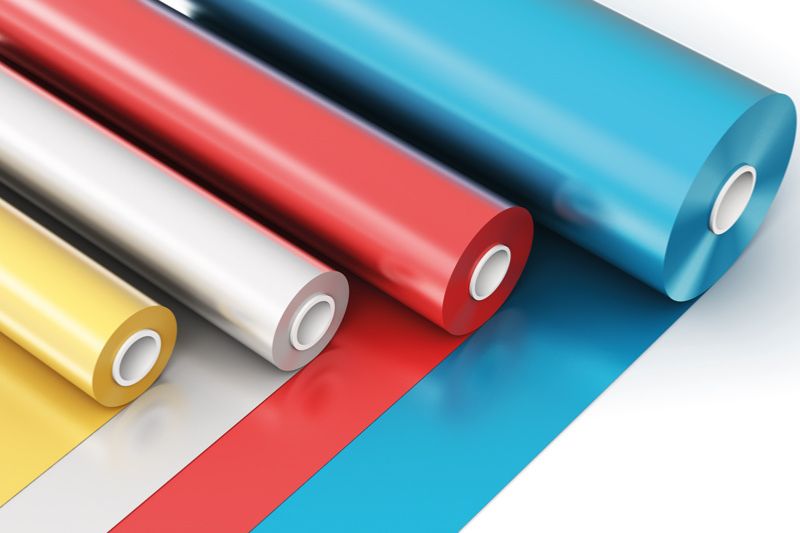
Vinyl media
Vinyl/media: This will vary depending on what you want to do, but it’s a good idea to research the different types of vinyl that are available.
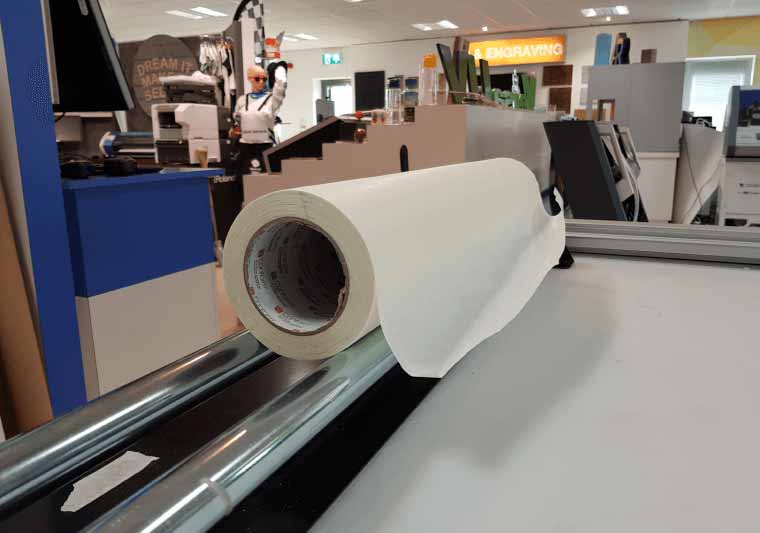
Window lettering transfer tape
Transfer Paper: Think of this as a large sheet of masking tape. This semi-adhesive sheet is used to transfer the vinyl to the glass easily.
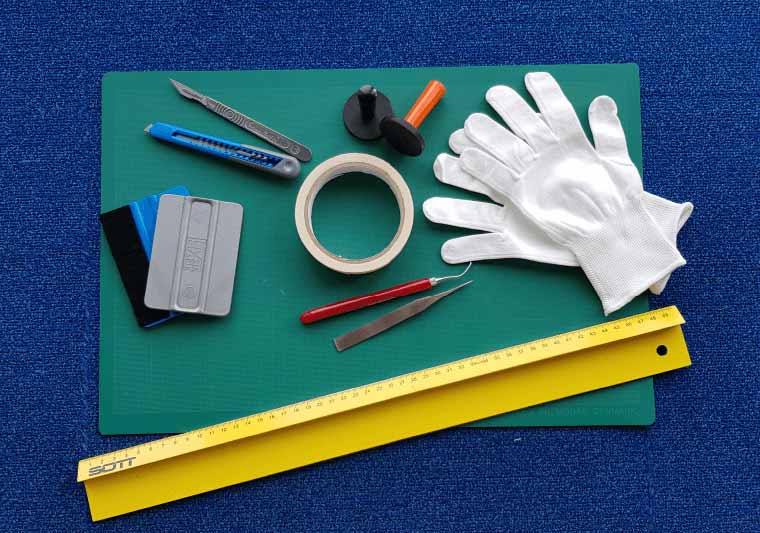
Application tools for window lettering
Application tools: You’ll also need a few tools that should be in every signage provider’s tool box. These include a craft knife, a weeding tool and a squeegee.
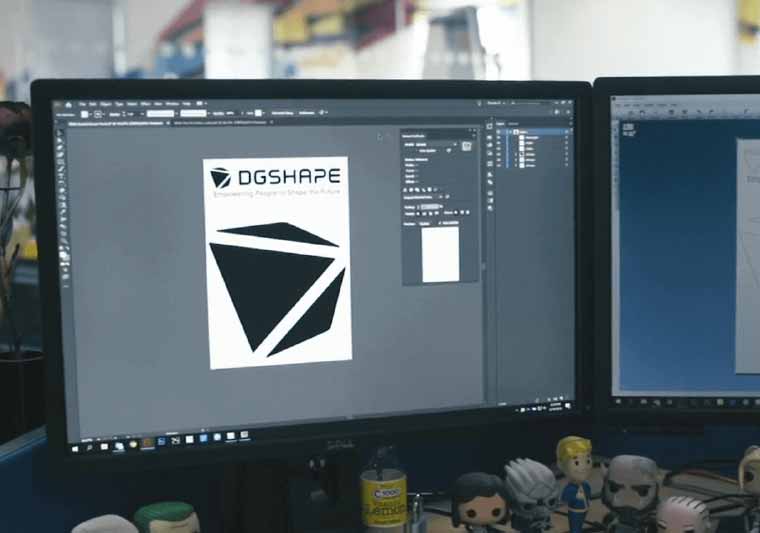
Design software for vinyl cutting
A computer with vector art software: You’ll need this to design your artwork and specify which paths the cutter blade should follow using vinyl cutting software like Roland CutStudio. Other popular packages include Adobe Illustrator and CorelDRAW.
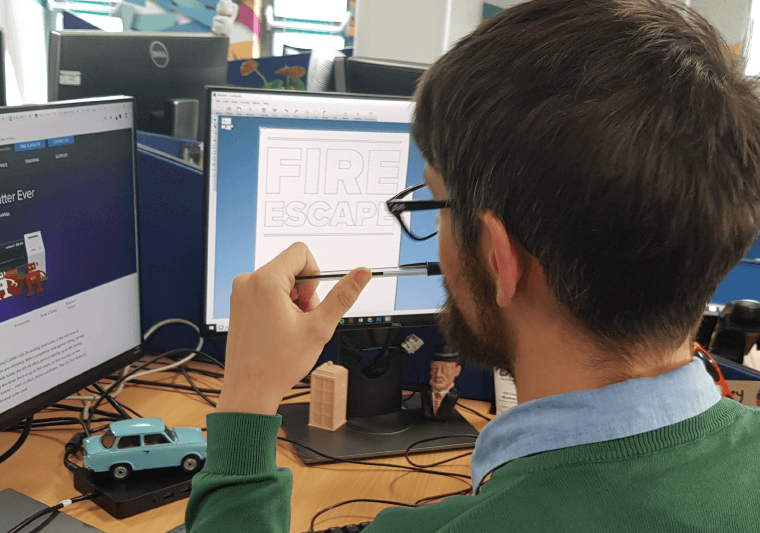
Step 1: Create Your Artwork
When it comes to cutting vinyl, you will get more accurate results by using a vector graphics programme like Roland CutStudio. This type of file specifies the paths the blade should follow during the cutting process without losing definition when the artwork is scaled up. If you have no vector artwork available, certain graphics programmes let you trace a bitmap image (for example, Image Trace in Illustrator or PowerTrace in CorelDRAW).
Designing for window lettering
Top Tip: With lettering, certain fonts will be easier to work with than others. For example, a stencil font will be easier to weed than a cursive font. Experiment with different typefaces to understand the strengths and limitations of each.
Step 2: Set Blade Extension
Depending on your application and the type of media you’re using, you will need to configure the distance the blade protrudes from its holder. If you’re creating a ‘kiss cut’, you will want to cut the media and the adhesive without cutting the backing sheet. A ‘perforated cut’ lets you cut the backing material for a die-cut effect.
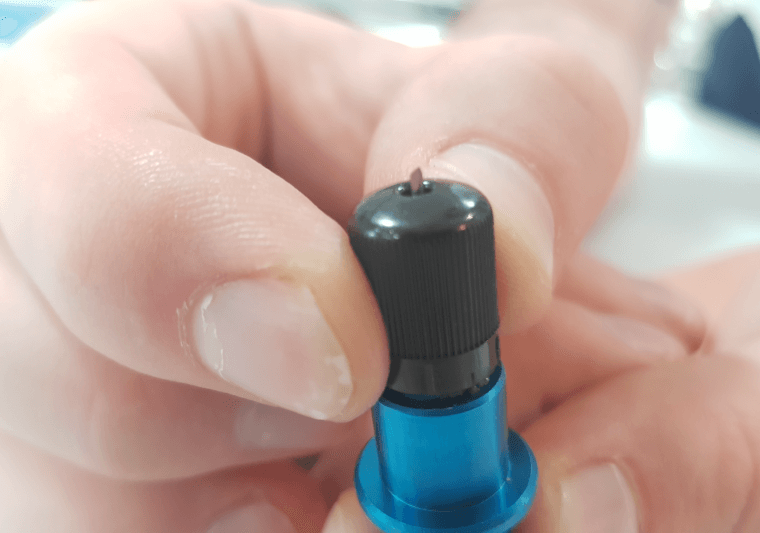
Setting blade extension for vinyl cutting
In either case, you’ll need to set a greater depth for thicker media. Roland DG cutters let you perform a test cut and make accurate adjustments before starting the cutting job.
Step 3: Cut Your Vinyl
When your media is loaded into the cutter and you’re happy with the blade extension, you’re ready to cut your design. Simply send the design to the cutter using CutStudio and it should begin cutting right away.
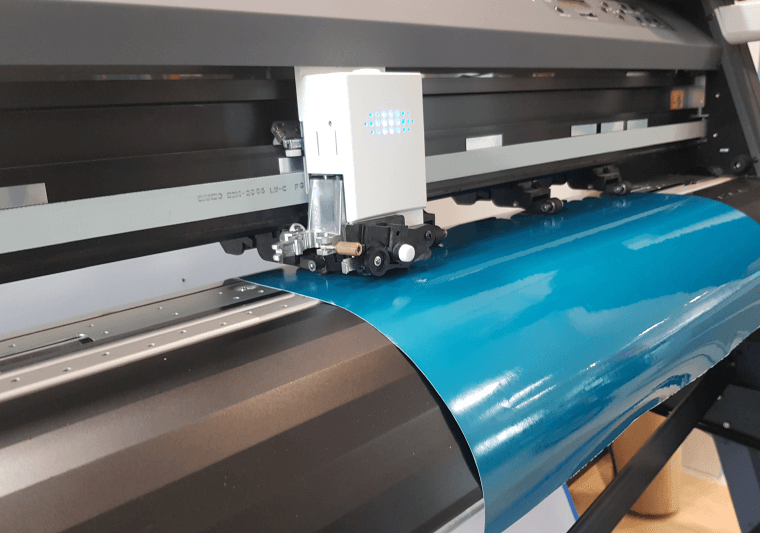
Window lettering vinyl being cut by plotter
Top Tip: If you're using certain types of heat transfer vinyl (when customising a t-shirt, for instance), you’ll need to cut the design in mirror image to ensure it's the right way around once the design has been heat-pressed onto the fabric. Similarly, if you’re sticking lettering to the inside of a window, it will need to be printed in reverse so that those looking in, from outside, can read it properly.
Step 4: Weed Your Design
Once the vinyl has been cut, you'll need to remove the excess vinyl in a process known as ‘weeding’. A weeding tool is a small, hand-held instrument with a pointed tip which lets you remove small sections of vinyl with ease. With more intricate designs, it helps to have an image of the final design to hand, ensuring you don’t accidentally remove parts of the design.
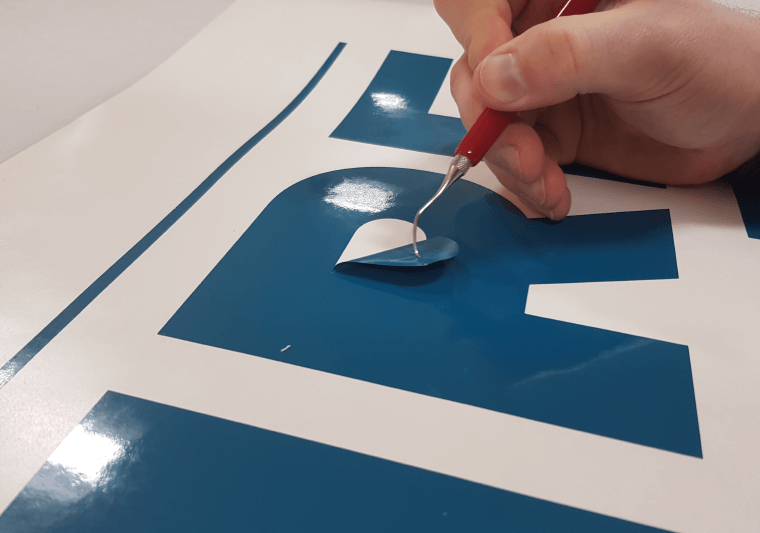
Weeding vinyl letters
Top Tip: If your design is very large, you may find it easier to weed it in several sections. To do this, you can simply add additional cut lines to the design separating the excess vinyl into more manageable areas.
Step 5: Apply Transfer Paper
At this stage, you’ll want to move the design from the sheet to the window, keeping all parts of the design in the same places relative to one another. This is easily done with the help of application transfer tape, or transfer paper.
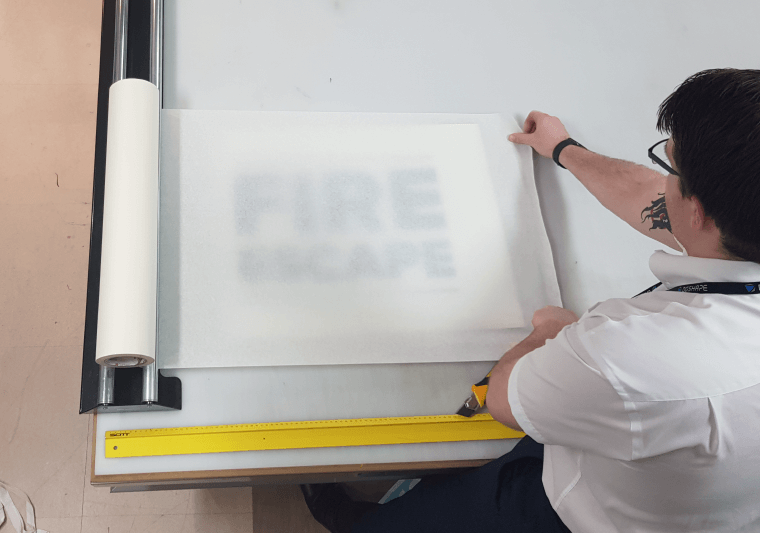
Applying transfer tape
This semi-adhesive material resembles a large sheet of masking tape which is applied on top of the entire design. Using a squeegee, press down on the entire area of your design, ensuring that the vinyl adheres to the transfer paper. Then, peel the tape, along with the vinyl, off of the backing sheet.
Step 6: Apply Vinyl to Window
First, clean the surface using isopropyl alcohol to remove any dirt or grease. Taking care to ensure your lettering is level and straight, apply the transfer paper including the vinyl onto the window. Take your squeegee again and press the vinyl to the glass, avoiding any creases or bubbles. Then, carefully peel the transfer tape away, leaving the lettering behind.
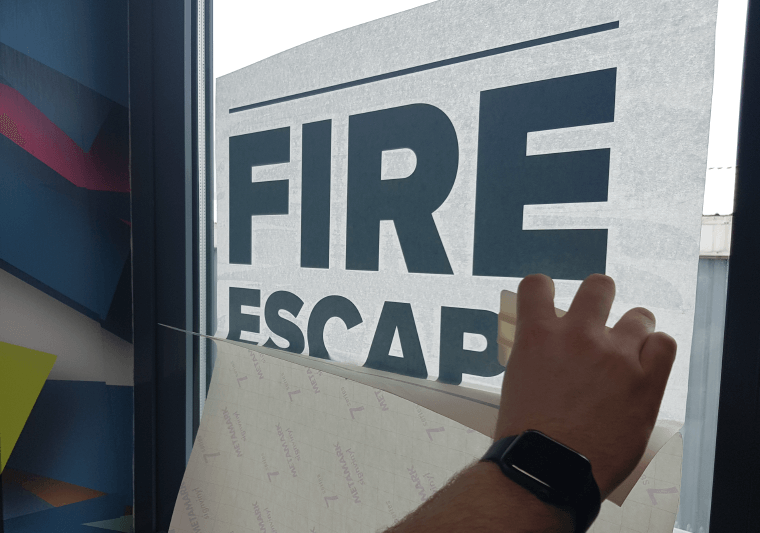
Applying vinyl letters to window
Top Tip: If you’re using frosted vinyl, you may find that the cuts are difficult to see and thus, difficult to weed. To get around this, you can skip steps 4 and 5 and apply the entire sheet to the window. When the light shines through, the cuts will be easier to see and you can weed the design in-situ.
Finished glass door with vinyl letters
Window lettering is just one application that you can create with a vinyl cutter but there are lots of other ways to make money with cutting plotters. If you’re looking for inspiration for your next business venture, download The Roland Guide to Vinyl Cutters and discover a world of profit-making opportunities.